


Broadcast: Wednesday, 2nd October 1968
Character: Dr. John Hallem
Surgeon, John Hallem (Peter Wyngarde) is not the man the well-heeled patients believe he is. He and fellow doctor, Charles Sumner (James Culliford), are in fact planning to steal over $30,000,000 in gold bullion, and have hatched a plan to get the Sir Frederick Howard (Basil Dignam) – the manager of one of London’s biggest banks – to help them do it.
During surgery at Hallen’s private clinic recently, a tiny microphone had been implanted into Sir Frederick’s ear, and since then he’s been plagued by voices instructing him to carry out specific tasks; refusal or failure to do so has resulted in painful and debilitating shocks via the implant.
In the meantime, irregularities in the international money market coupled with rumours of the sudden movement of large amounts of gold bullion, have reached the Champions team – Sharon Macready (Alexandra Bastedo), Craig Stirling (Stuart Damon) and Richard Barret (William Gaunt) – at their Nemisis HQ in Geneva. They manage to persuade their boss, Commander W.L. Tremayne (Anthony Nicholls), to let them investigate.
Stirling flies into London to speak with the managers of all the major banks, amongst them Sir Frederick Howard, who he advises of a possible raid on his bank’s gold reserves. Howard assures Stirling that all possible security procedures are in place, and that the bank’s vaults are impenetrable. But while Stirling is initially satisfied with this, his superhuman hearing happens to pick up the sound of a man’s voice emanating from the implant in Sir Frederick’s ear.
Shortly after being ushered from the premises, Stirling witnesses Sir Frederick running from the bank. He follows him into a side street where he finds the banker lying on the pavement surrounded by a small group of onlookers. As luck would have it, a doctor is among the passers-by and, seemingly, is able to come to the elderly gentleman’s aid.
When later Sir Frederick is examined by Sharon Macready, she finds a scar inside his ear which suggests that he had recently had surgery, and so Stirling sets about finding the hospital or clinic where the procedure was carried out.
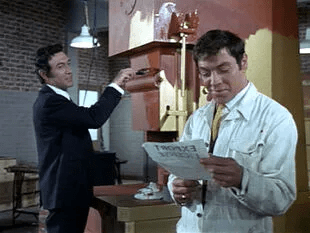
Peter with James Culliford as Dr. Sumner
Hallem and Sumner, meanwhile, have taken delivery of the gold they had coerced Sir Frederick into releasing to them, which the two crooks have cunningly had cast to resemble industrial machinery. A rust-coloured paint is added to enhance the effect. Arrangements are made to have the “machinery” shipped out of the country to Holland, where the two villains plan to collect it at the post of Rotterdam.
For the moment Hallem returns to the clinic, where Craig Stirling eventually arrives to carry out his investigations. He immediately recognised Hallem as the doctor who’d attended to Sir Frederick on the street the previous day, and a fight ensues. While the surgeon is no match for the physically-enhanced agent, when Dr. Sumner suddenly makes an appearance the two surgeons combine to overpower the American and injecting him with a tranquilliser. Realising that they can’t leave him at the clinic, they decide to take him with them to Holland, and so he’s bundled into the back of their car.
When Macready and Barrett finally turn up at clinic they find that the two doctors have already left – probably with their colleague. A call to Hallem’s from his contact in Rotterdam tips off the agents as to the destination of the two surgeons, Stirling and the stolen gold, and so they catch the first flight to Holland.
After planting a similar device to the one given to Sir Fredrick in Stirling’s ear, Hallem and Sumner dump the agent at a roadside in the middle of the desolate Dutch countryside, Through it, the two wayward medics are able to keep track the American’s movements.
It’s not long before Stirling has revived himself enough to set off in pursuit of the surgeons who, by that time, are well on their way to the port of Rotterdam. Unbeknown to them, their contact,

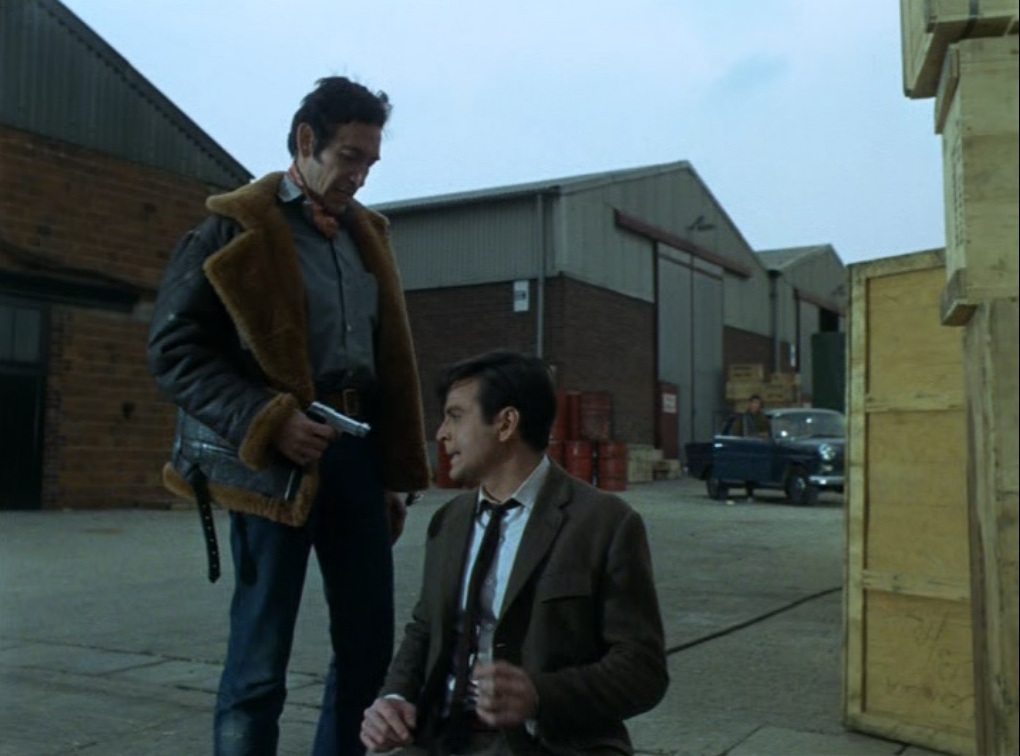
Customs Officer Van Velden (Aubrey Morris) has discovered that the piece of “machinery” is in fact far more valuable than he’d been lead to believe, and so when Hallem and Sumner arrive to collect it, he demands a substantial increase in the payment he’d previously agreed on. Hallem’s response to Van Velden’s ultimatum is to gun the Dutchman down and to conceal his body in one of the warehouses.
By this time, Stirling has managed to make his own way to the port and is spotted by Sumner, who’d been busy loading the gold onto a lorry. Although Hallem is able to temporarily render the agent helpless by use of the ear implant, Stirling makes a dash for the dock with both Hallem and Sumner in pursuit where he throws himself into the water. When he fails to surface after several minutes, the two crooks leave believing that Stirling must surely have drowned.
With Hallem and Sumner back on the road – this time with the gold, Stirling is safe to leave the water, and on doing so discovers that his colleagues, Sharon Macready and Richard Barratt, have themselves arrived at the warehouse. After Macready removes the device from Stirling’s ear, the three of them set off in after the two crooked surgeons.

Convinced that they’ve got away with the perfect crime, Hallem and Sumner allow themselves a wry smile, but when Hallem glances in his wing mirror and spots the NEMISIS agents trailing him, he realises that their celebrating had been somewhat premature. His response is to increase speed, but the winding country roads and the weight of the gold conspire to blow the lorry’s tyres blow and the overburdened vehicle is sent crashing into a tree.
Dazed and Injured, Hallem manages to scramble out of the damaged cab, and hoping to evade capture, he attempts to stagger into a woods. But as Stirling and his colleagues close in, Hallem inevitably loses consciousness and it’s game over.


2 thoughts on “REVIEW: The Champions – ‘The Invisible Man’”